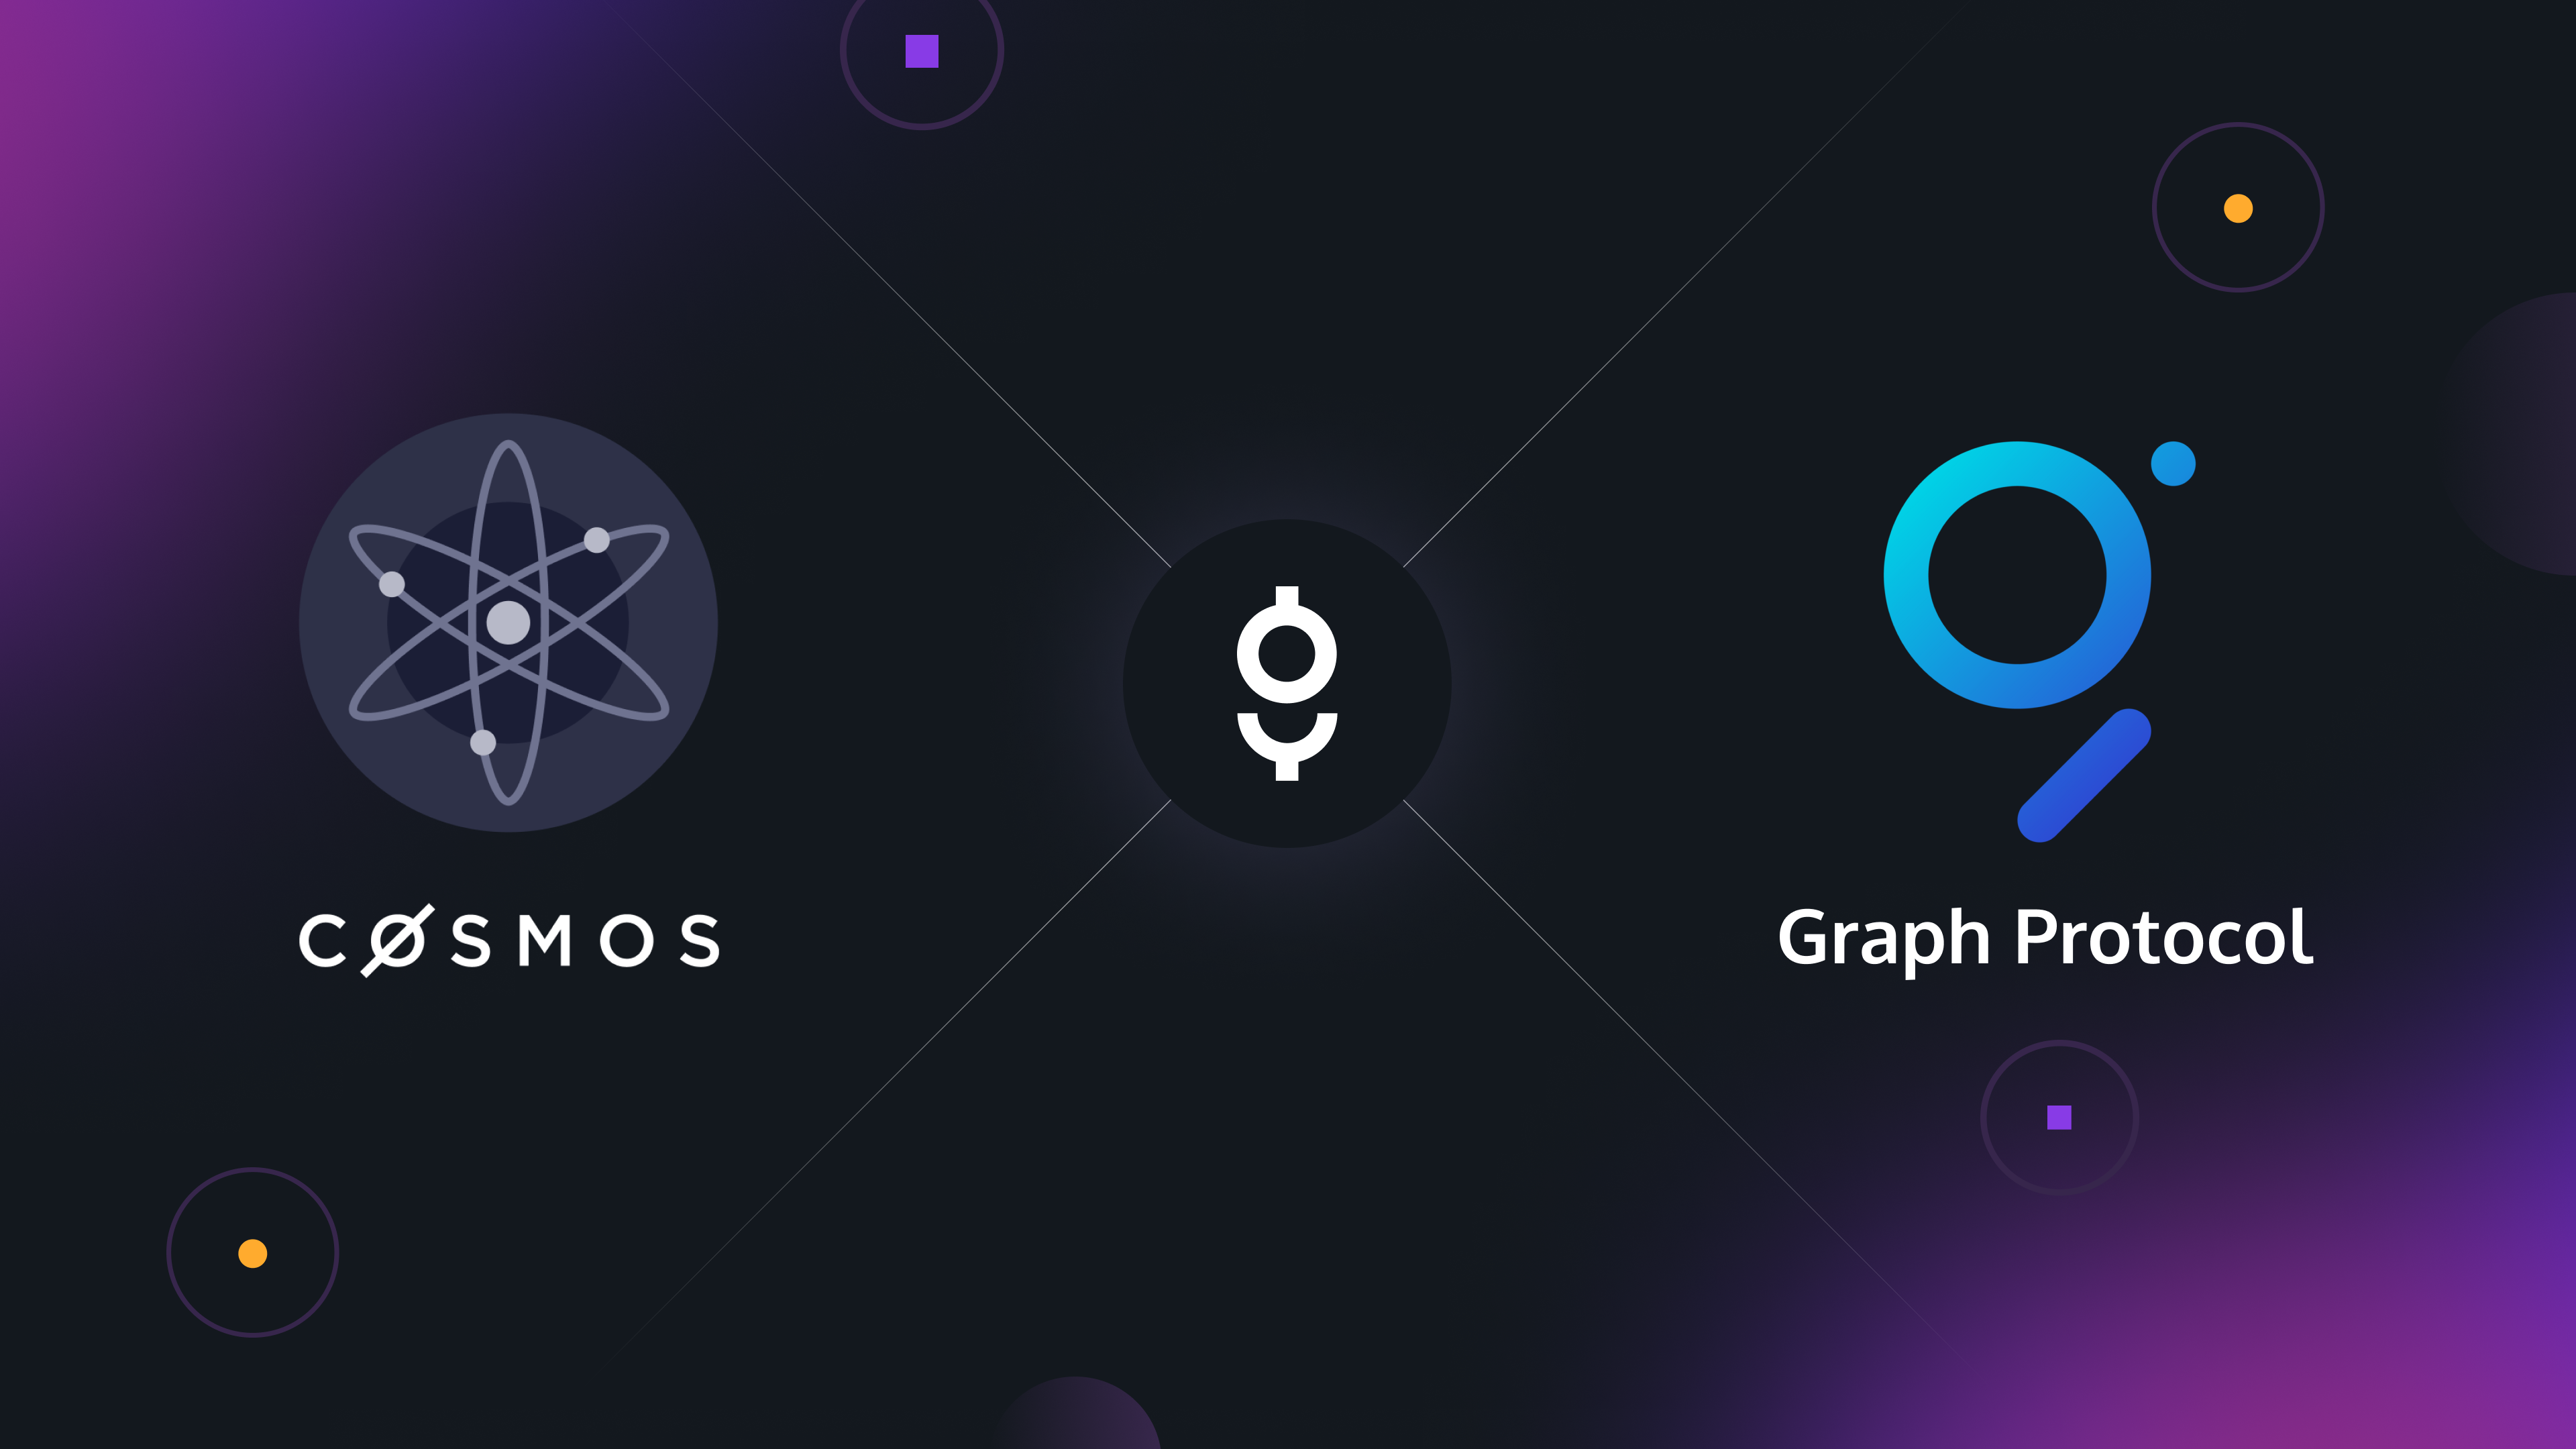
Graph Protocol recently launched its cosmos integration, allowing any cosmos app chain to index its state to the graph and then query/search it using GraphQL. This guide aims to showcase an end-to-end flow using Gitopia as an example chain.
The figment team did a lot of the heavy lifting around this. So to begin with, first I would like to thank them for their contributions.
Before we begin, here are a few considerations:
- In this guide, we will focus on local deployment.
- I am using an M1 system for testing this.
- I will be using docker to run the Graph Protocol stack.
Components
Without getting into detail, here are the components that we will be using:
- Docker/docker-compose (Postgres, IPFS, graph-node)
- graph-cli
- firehose-cosmos
- gitopia-subgraph
- gitopia chain (customized for firehose)
Prerequisites
-
Install docker desktop for your system from their official site
-
docker-compose is included with the docker desktop, but if you need to install it explicitly, you can do that from here
-
Install graph-cli
npm install -g @graphprotocol/graph-cli
For Linux, you might need to install libsecret as mentioned in the installation readme above.
Let’s Begin
#1. Customize your chain for firehose:
Firehose is required for the synchronization of your cosmos chain. The graph node then connects to this firehose component and indexes the subgraph as specified.
From the documentation, firehose-cosmos is an application that runs a few small, isolated processes that together form the Firehose stack. You have to run firehose-cosmos to run a Firehose locally.
In order for your chain to talk to firehose-cosmos, we need to modify the chain code. Luckily figment has created all the required tags, which we can use to replace those components in the go.mod file, e.g., Tendermint, Cosmos SDK.
First, check the Tendermint and Cosmos SDK versions that your chain uses. Find their corresponding tags in their respective figment repositories cosmos-SDK and Tendermint, and then add the replace statements in your go.mod file. E.g. for the gitopia chain, currently, we are using v0.45.1 for Cosmos SDK and v0.34.14 for Tendermint, so we replace them with their corresponding tags.
replace (
    github.com/cosmos/cosmos-sdk => github.com/figment-networks/cosmos-sdk v0.45.1-fh
	github.com/tendermint/tendermint => github.com/figment-networks/tendermint v0.34.14-fh.2
)
Now you can build the binary using
go mod tidy
make build
make install
or use the ignite CLI. We will be using this binary in the next step.
#2. Clone and run firehose-cosmos:
You can clone firehose-cosmos from here. You need to build and install it. From the Readme
git clone https://github.com/figment-networks/firehose-cosmos
cd firehose-cosmos
go mod download
make build
make install
Since the scripts are available only for cosmos and osmosis, you can use the initial start.sh file. So first, create a directory under devel.
cd devel
mkdir -p gitopia/tmp
cp cosmoshub4/start.sh gitopia/start.sh
Add the firehose.yml config to the tmp directory, replace the ingestor-node-path with your chain binary path, and add the chain home directory containing the genesis and config in ingestor-node-args.
start:
  args:
    - ingestor
    - merger
    - firehose
    - relayer
  flags:
    common-first-streamable-block: 1
    common-blockstream-addr: localhost:9000
    ingestor-mode: node
    ingestor-node-path: /usr/local/bin/gitopiad
    ingestor-node-args: start --x-crisis-skip-assert-invariants --home=./gitopia_home
    ingestor-node-logs-filter: "module=(p2p|pex|consensus|x/bank)"
    firehose-real-time-tolerance: 99999h
    relayer-max-source-latency: 99999h
Initialize your chain using the path specified above eg ./tmp/gitopia_home. You can use ignite CLI for this, or you can skip this step by copying your genesis.json and config into tmp/gitopia_home
ignite chain init --home=../firehose-cosmos/devel/gitopia/tmp/gitopia_home
As mentioned in the firehose documentation, add the extractor configuration at the bottom of your config.toml in the chain_home directory (tmp/gitopia_home).
[extractor]
enabled = true
output_file = "stdout"
Now run start.sh, which should start your custom chain along with firehose synchronization.
./start.sh #from devel/gitopia directory
You would need to wait for at least 100 blocks before you can start the graph-node stack.
#3. Run the graph-node stack:
Clone graph-node from here. If you are using an M1 like me, you would need to build the images instead of directly pulling and using them.
git clone https://github.com/graphprotocol/graph-node
cd graph-node/docker
But before building the images, you can add the config.yaml file to the docker directory, so everything works out of the box.
You can replace gitopia in the config below with your chain-id.
cat << END >> config.toml
[deployment]
[[deployment.rule]]
shard = "primary"
indexers = [ "default" ]

[store]
[store.primary]
connection = "postgresql://graph-node:let-me-in@postgres:5432/graph-node"
pool_size = 10

[chains]
ingestor = "block_ingestor_node"

[chains.gitopia]
shard = "primary"
protocol = "cosmos"
provider = [
  { label = "gitopia", details = { type = "firehose", url = "http://host.docker.internal:9030" }},
]
END
The above command saves the configuration as config.toml inside the docker directory.
Then we use sed to modify the Dockerfile to copy the above config file in the final image.
sed -i "" "s/^CMD start/COPY docker\/config.toml \/etc\/config.toml\nCMD start/" Dockerfile
Alternatively, you can directly add COPY docker/config.toml /etc/config.toml before CMD start in the Dockerfile.
Next, we add GRAPH_NODE_CONFIG: /etc/config.toml environment variable in the docker-compose.yml file in the graph-node service so it knows the path from where it can read the config. Either add directly above postgres_host: postgres or use the below sed command.
You can also change GRAPH_LOG to debug while developing.
sed -i "" "s/postgres_host: postgres/GRAPH_NODE_CONFIG: \/etc\/config.toml\n postgres_host: postgres/" docker-compose.yml
Now you can build the docker images as mentioned in the documentation:
# Remove the original image
docker rmi graphprotocol/graph-node:latest

# Build the image
./build.sh

# Tag the newly created image
docker tag graph-node graphprotocol/graph-node:latest
It should take around 10 minutes to build these images. Once done, you can run docker-compose.
docker-compose up
The following logs will show that the graph-node has picked up your chain.
graph-node_1  | Aug 16 12:18:15.303 INFO Creating LoadManager in disabled mode, component: LoadManager
graph-node_1  | Aug 16 12:18:15.303 INFO Starting firehose block ingestors with 0 chains []
graph-node_1  | Aug 16 12:18:15.303 INFO Starting firehose block ingestors with 0 chains []
graph-node_1  | Aug 16 12:18:15.303 INFO Starting firehose block ingestors with 1 chains [gitopia]
graph-node_1  | Aug 16 12:18:15.303 INFO Starting firehose block ingestor for network, network_name: gitopia
#4 Create your subgraph:
According to the official docs, there are three types of handlers supported: Block, Event, and Transaction.
Event handlers do not require decoding and can be mapped directly into the entity from their attributes. However, transaction handlers can parse custom messages that must be decoded before mapping them.
Create a new graph using graph-cli
graph init
On being prompted to enter, select/enter the following options; you can choose your name instead of gitopia/gitopia and also your directory instead of gitopia
✔ Protocol · cosmos
✔ Product for which to initialize · hosted-service
✔ Subgraph name · gitopia/gitopia
✔ Directory to create the subgraph in · gitopia
✔ Cosmos network · cosmoshub-4
The above initialization would create a directory gitopia with a sample graph. We would modify it to index all organizations in the gitopia chain by decoding and mapping the MsgCreateOrganization message using the transactionhandler.
We also need as-proto for the graph to be able to decode the transactions.
Add it to the newly created sample graph:
cd gitopia
yarn add as-proto
Now let’s start writing the actual graph.
First, let’s replace the subgraph.yaml file with this
specVersion: 0.0.5
schema:
  file: ./schema.graphql
dataSources:
  - kind: cosmos
    name: Gitopia
    network: gitopia
    source:
      startBlock: 1
    mapping:
      apiVersion: 0.0.7
      language: wasm/assemblyscript
      entities:
        - Organization
      transactionHandlers:
        - handler: handleTx
      file: ./src/mapping.ts
The above subgraph:
- Specifies the entity
Organization, which we will define inschema.graphql - uses a transaction handler
handleTxwhich we will describe insrc/mapping.ts kind: cosmostells the graph to usecosmosprotocol- the network
gitopiais the chain-id of the chain used
Now let’s replace the schema.graphql file with
type Organization @entity {
  id: ID!
  creator: String
  name: String
  description: String
}
This type defines the Organization entity; the first attribute is id here, which we will pass in the mappings.ts to uniquely identify each artifact in the index.
This file can be generated for each Message using their respective .proto files by graph-proto-as-schema by using the following command.
node ./dist/index.js -o ./output -d ../gitopia/proto/gitopia --typescript_namespace gitopia
We need to remove src/contract.ts which we created on init, and add the following to src/mapping.ts
import { cosmos } from "@graphprotocol/graph-ts";
import {
  MsgCreateOrganization,
  decodeMsgCreateOrganization,
} from "./decoding";
import { Organization } from "../generated/schema";
import { log } from '@graphprotocol/graph-ts'

export function handleTx(data: cosmos.TransactionData): void {
  const id = `${data.block.header.hash.toHexString()}-${data.tx.index}`;
  const messages = data.tx.tx.body.messages;

  for (let i = 0; i < messages.length; i++) {
    let msgType = messages[i].typeUrl;
    let msgValue = messages[i].value as Uint8Array;
   if (msgType == "/gitopia.gitopia.gitopia.MsgCreateOrganization") {
      createOrganization(id, decodeMsgCreateOrganization(msgValue))
    }
  }
}

function createOrganization(id: string, message: MsgCreateOrganization): void {
  const msg = new Organization(id);
  msg.creator = message.creator;
  msg.name = message.name;
  msg.description = message.description;
  msg.save();
}
Here we define the handleTx, which gets triggered in each transaction and checks if the message type is MsgCreateOrganization and creates the entities previously described.
Two things missing here are
- generated files that we import here will be generated from the entities that we have defined by running
graph codegenlater. - The decoding functions that will decode the messages.
Now let us create src/decoding.ts.
import { Protobuf, Reader } from "as-proto";

export function decodeMsgCreateOrganization(a: Uint8Array): MsgCreateOrganization {
  return Protobuf.decode<MsgCreateOrganization>(a, MsgCreateOrganization.decode);
}

export class MsgCreateOrganization {
  static decode(reader: Reader, length: i32): MsgCreateOrganization {
    const end: usize = length < 0 ? reader.end : reader.ptr + length;
    const message = new MsgCreateOrganization();

    while (reader.ptr < end) {
      const tag = reader.uint32();
      switch (tag >>> 3) {
        case 1:
          message.creator = reader.string();
          break;

        case 2:
          message.name = reader.string();
          break;

        case 3:
          message.description = reader.string();
          break;

        default:
          reader.skipType(tag & 7);
          break;
      }
    }

    return message;
  }

  creator: string;
  name: string;
  description: string;

  constructor(
    creator: string = "",
    name: string = "",
    description: string = ""
  ) {
    this.creator = creator;
    this.name = name;
    this.description = description;
  }
}
You can generate this for all the messages by using your chains .proto files. You would need to modify the osmosis-ts repository to include your chain as a submodule instead of osmosis and then use the commands as specified in the package.json.
Now let’s deploy the graph:
yarn codegen # creates the required generated files
yarn build # builds wasm files
yarn create-local # creates a graph with the above give name gitopia/gitopia
yarn deploy-local # deploys the graph to the local node
The successful output of deploying the graph would be
Build completed: QmWZqifkkz9A7LCEL5EVNWTkhEzipzvH2FSXvLxuHiQ3TK

Deployed to http://localhost:8000/subgraphs/name/gitopia/gitopia/graphql

Subgraph endpoints:
Queries (HTTP):     http://localhost:8000/subgraphs/name/gitopia/gitopia
Open the above URL http://localhost:8000/subgraphs/name/gitopia/gitopia in your browser
and enter the query to fetch all the organizations with their attributes.
query {
  organizations{
    name
    creator
    description
  }
}
You can also filter/search query using contains, eg.
query {
  organizations(where: {name_contains:"cosmos"})
  {
    name
    creator
    description
  }
}
This query will filter and return all the organizations whose name contains the string cosmos.
I hope this helps you with your setup. A big shoutout to Graph Protocol and Figment Network for open sourcing this.
You can find the complementing source code here which also contains the configuration files.
- - -
About Gitopia
Gitopia is the next-generation Decentralized Code Collaboration Platform fuelled by a decentralized network and interactive token economy. It is designed to optimize the open source software development process through collaboration, transparency, and incentivization.
Follow us
Website : https://gitopia.com/
Whitepaper: https://gitopia.com/whitepaper.pdf
Telegram: https://t.me/Gitopia
Discord : https://discord.com/invite/mVpQVW3vKE
Twitter : https://twitter.com/gitopiaDAO